
I dyed this scarf using the traditional flag fold. I don’t yet have pictures of how to make these folds, but I think I’ll do some this week and add them here.
I folded the scarves in half along the length and folded them up in triangular sections.

First dip was into the yellow dye bath, holding the folded scarf carefully into the bath with tongs, for about 5 minutes.

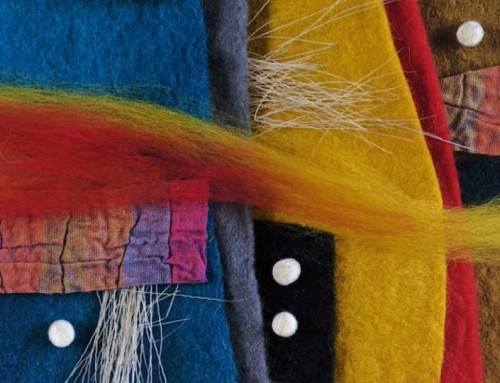
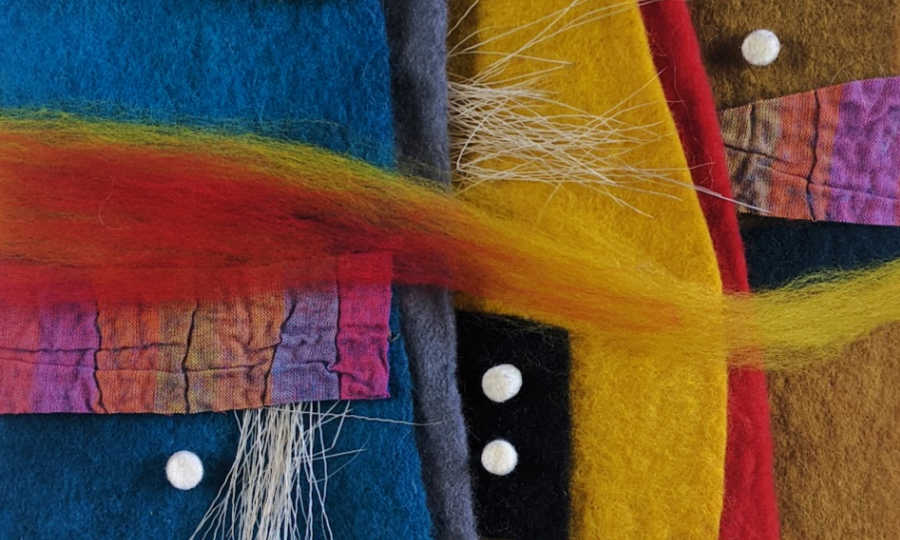
Next dip into turquoise. One of the things I like about this method is the secondary colours we get where the dips overlap. All the layers add a great colour depth to the finished piece.


Last folded dip into red/brown. I had decided I would be making this into a purple hued scarf, so I chose colours that would mix well and have a good relationship with the purples. In this case, warm, earthy tones.

The silk side of the scarf above, and the wool side below. It’s surprising that the silk side has softer colouring than the wool side. Usually silk takes up the colours more vibrantly than the wool.

This scarf has a lovely watercolour feeling. There is a shimmer and iridescent effect from the layering of colours. I’d have loved to have spent some more time with this scarf before it was dropped off at the gallery… to appreciate the colouring and take some better pictures.
I’ll just have to make some more!
So many things to make…I’ll write more on the folding techniques, plus put together my tutorial on nuno felting this week…and then…the scarves I had set out to make at the beginning of this story…inspired by Els at Fiber Rainbow’s Kaffe bag!
warm wishes,
Fiona

Hi Fiona, thanks for the link 😉
I love your folding and deying. I did a dyeing workshop (without doing the deying 🙁 !) with Glennis Dolce ("Shiborigirl") She used special dyes for silk (NO steaming !!!) but she couldn't send them over to me. And Dharma ánd customerservice here were charging so MUCH it wasn't worthwhile …. So still looking for the good stuff ….