These instructions show the basic layout and techniques for making flat felt panels. This is the format, or canvas we will be creating throughout the course to explore the full range of surface design elements.
Materials:
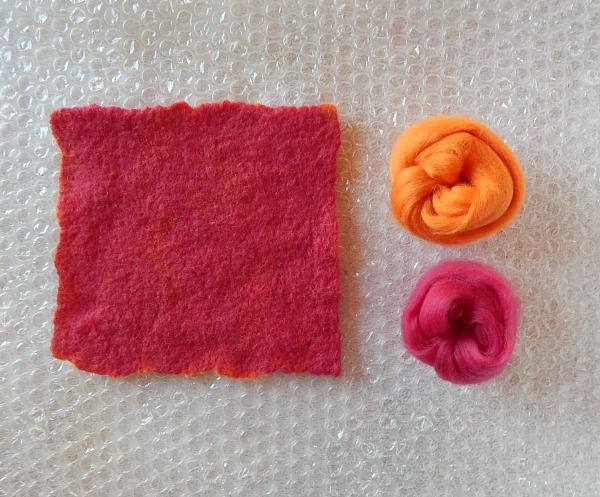
0.5 ounce (15 grams) wool fibres, (roving and/or batting)
2 pieces of bubblewrap about 18 inches (45cm) square
warm water
natural dishsoap
foam pool noodle, wooden dowel or rolling pin
Preparing your materials:
Use your towel to protect your work surface. Layout one length of bubblewrap, bubbles facing up.
Divide your wool fibres into two piles.

The rovings can be easier to work with and lay out as thinly as possible if you divide the rovings along the length. This gives you more of a “hand” sized amount to work with.
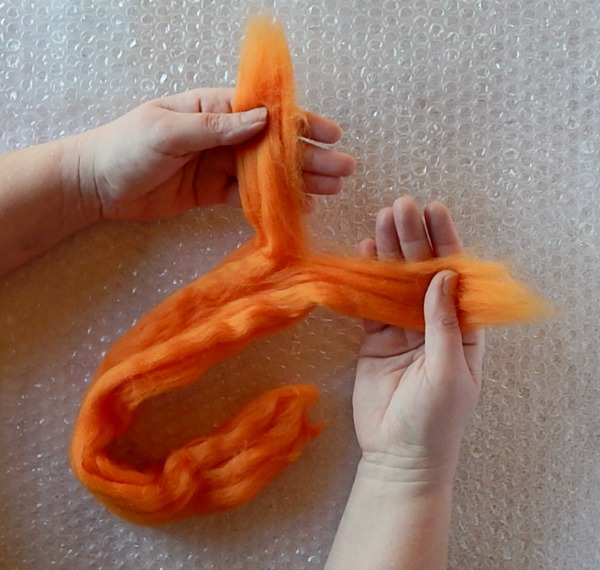
To “shingle” your wool in your layout, use your whole hand to clamp down the fibres. The staple length of your fibres will determine how far apart your hands need to be: if you can’t pull the fibres out easily, your hands are too close together. Using your whole hand to pull open the fibres encourages more even and fine shingles. When we use our fingers, the wool has a tendency to be more bunched up, or balled.


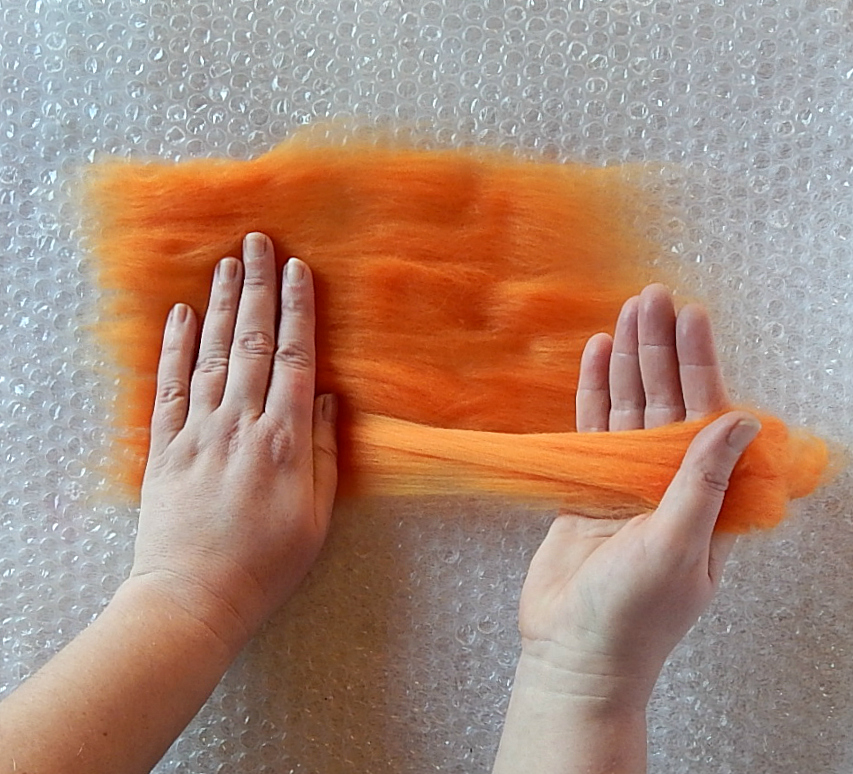
Lay the one layer of the wool shingles, overlapping by about 1/3 in length, and in each row. Layout a 10 inch (25m) square. This will give a finished felt of about 6 inches (15cm) square.


Another method for laying out shingles of wool is to lay the fibres on your bubblewrap, clamp down flat with one hand, and with the whole hand clamping the fibres flat, pull out the staple length to create the shingle.
The closer your drawing hand is to the end of the fibres, the fewer fibres will be in each shingle and therefore the finer the shingle, and the finished felt.
Lay out second layer with the fibres perpendicular to the first layer. Carefully look over the surface for any holes, gaps or thin areas. Check particularly where your shingles overlap. This is the area most likely to have thin spots or gaps. If you have more thick or bulky joins, spread the fibres out a little with your fingers.Add more wool, in thin wisps, as required.

Mix about 1/2 teaspoon of dish soap with 2 cups of warm (not hot) water. Apply this mixture evenly over the surface of the wool using a watering can, a plastic sports bottle or by pouring the water through a colander. You can also pout the water slower over the back of your hand to wet out the wool. We want to have the effect of rain falling over the wool- evenly distributed. We want to lightly water the surface without moving our wool designs; just enough for the surface to be wet, but not sitting in a pool of water.


Cover the wool with the second piece of bubble wrap and press down with your hands. Keep your whole hand flat, using a compressing motion. Our finger tips tend to move the wool fibers underneath. This flattens the wool fibers and distributes the water and soap mixture. Press down 10-15 times in one spot to thoroughly wet outthe fibers before moving on to the next section. Work over the whole piece in this way.

Lift the bubble wrap and check that all the fibers are flat and wet. Add more water if necessary, and repeat the compressing in that spot. Witht he bubble wrap cover in place, add a little of the fleting solution to the top of the bubblewrap. This allows your hands to move easily and lightly over the surface, gently createing the agitation needed to form a felt skin on the surface of the wool. You can also roll over the surface, very lightly, applying no pressure, using a length of PVC pipe, rolling pin, or a pool noodle. This helps to evenly wet out the wool fibres.


Roll up all the layers of bubblewrap and wool around the pool noodle, dowel or pipe. We all have different felting rhythms, so you may roll up tightly and roll vigorously for 10-15 minutes total, or roll more gently for 30-45 minutes. Periodically open the roll, check the felt surface by rubbing your finger over the surface to see how much the fibres are moving, or by pinching to see how much the fibres lift. Rotate the felt by 90 degrees or a quarter turn, and re-roll. This alows you to work in the felt in all direction. The shrinkage happens most in the direction we roll.

To finish the felting we will alternate between these three techniques:
Toss the balled up felt down hard onto your open bubble wrap. This really helps to shrink the wool felt very quickly, but we have no control over where the shrinkage happens.

Fold up the felt and roll it on itself. This gives the felt a tight even surface. The felt will shrink most in the direction in which you roll, use this to control the shrinkage and shaping of your finished panel.

With hands flat on the surface of the felt, rub the felt over your bubblewrap surface. With this technique you are shrinking all of the felt, but can focus the shrinkage in particular areas, like corners, edges, or thin spots. Too much rubbing will create a slightly balled or fibrous surface. This is why we alternate the three techniques as they each have drawbacks and benefits.

Continue until the wool is quite well fulled, and feels firm. Check your measurements to see if you have reached a 35-40% shrinkage rate.
Rinse well in warm water and lay flat to dry.