
Wool fibres can be used like paints, laid out to create surface colour changes, but also combined in layers to build new colors through shadowing. We can also use this simple technique to create a shift or transition in colour progression. It can be easier to imagine how to blend the layers when using wool roving than when using wool batting. This is a method I use to create a more subtle shift in colour when laying out using wool batting.
This technique is illustrated using C1/Pelsull and C1 wool batting from New England Felting Supply.
For many projects, we only need half the total thickness of the batt.
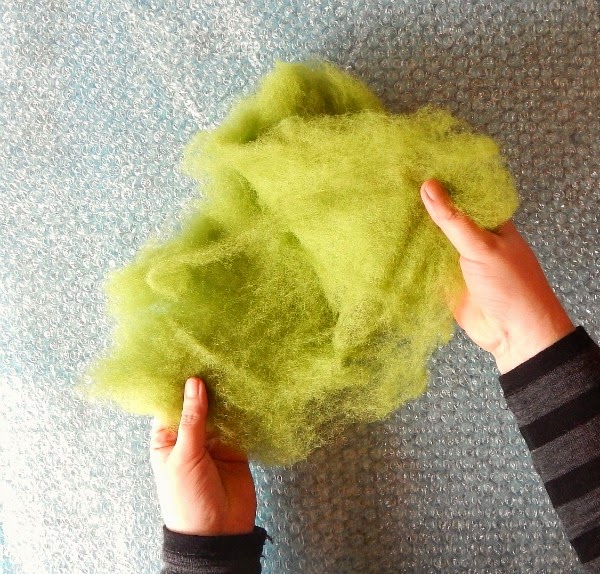
Unroll the batting so you have it at its full thickness. Then open up
the layers into two- divide the sheet into two thicknesses. The
wool batting divides easily this way…like sheets of phyllo dough….one
half will usually be a little heavier than the other. For this layout, I am using the slightly more thick layer. Remember to do this for all your wool colours.
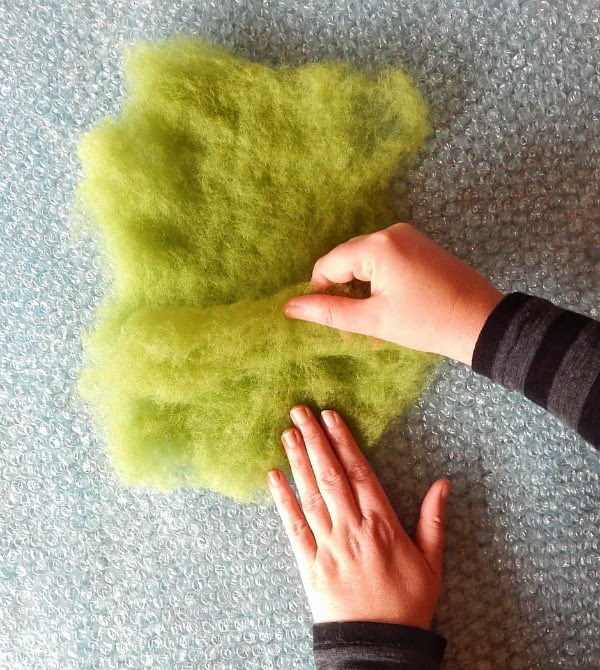
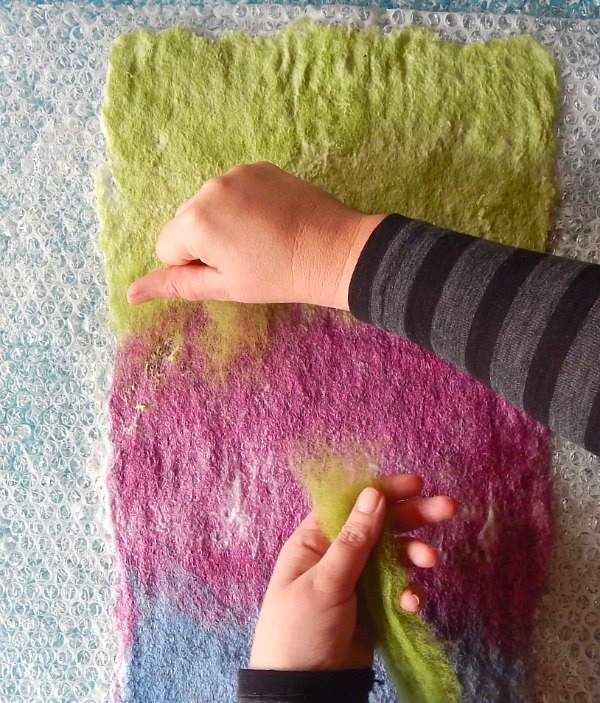
On the area where you want to continue your layout and start the colour transition, divide this wool layer into two, and pull the top layer up about 2 inches (5cm). This amount will depend on the size of your overall project and composition.Pulling up a larger amount like 4 inches (10cm) will give you a large transition area with more opportunity for gradation.
Using one hand as a clamp, pull off this part of the top layer.
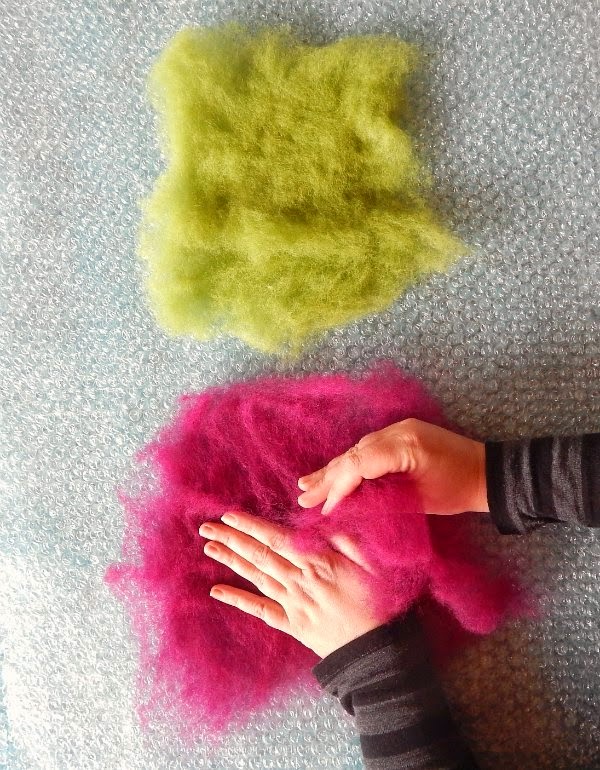
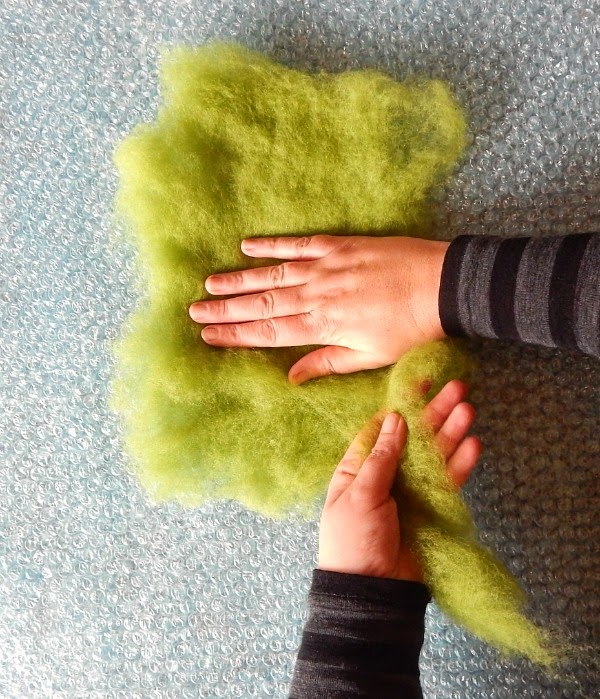
Repeat this process on your next colour. In this case I’m using two complementary colours.
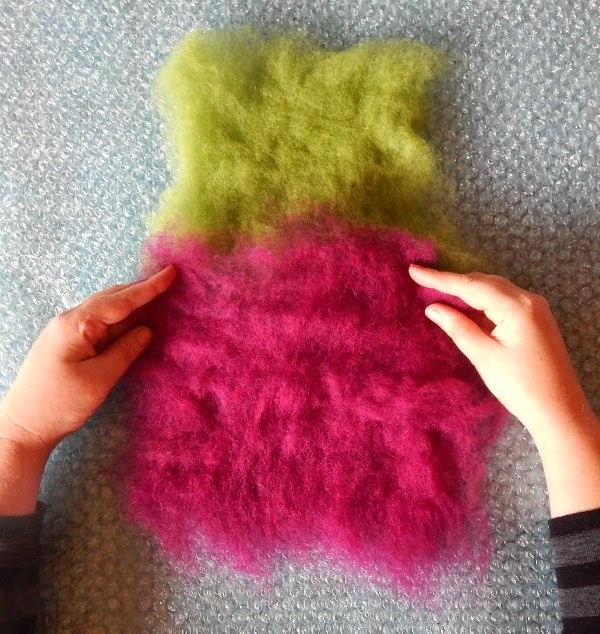
Lay the thin section of the new colour, over the thin section of the previous colour. Because these are both half thicknesses, the transition area now will be the same density as the full colour layer.
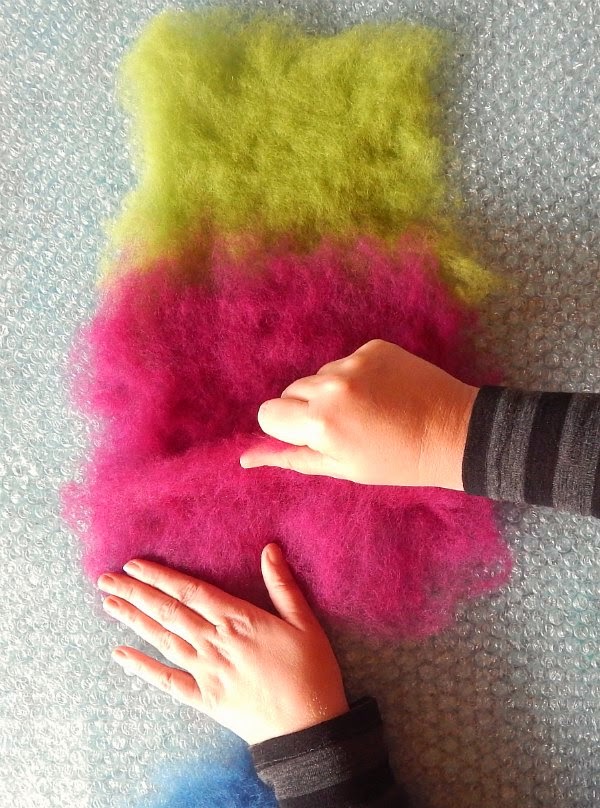
Repeat this same process for all of your layout and colour transitions.
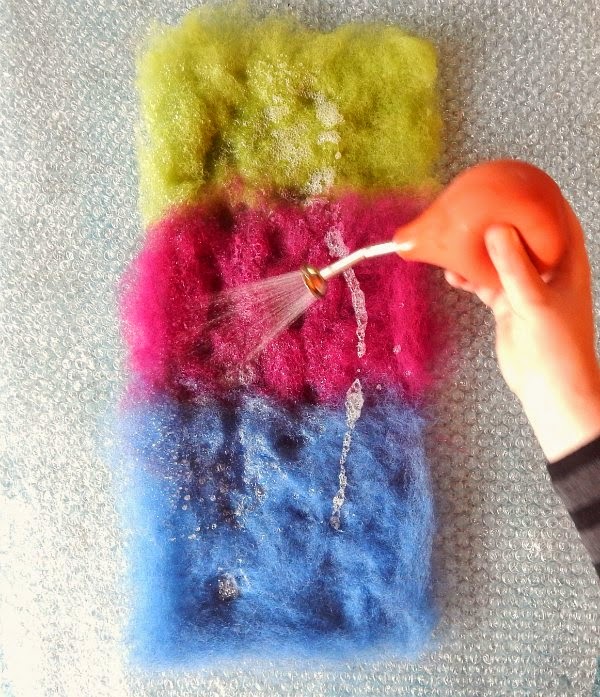
Wet out and compress as usual.
You may want to add this the very lightest, finest wisps, not adding weight, but another layer to deepen the gradation through the transition.
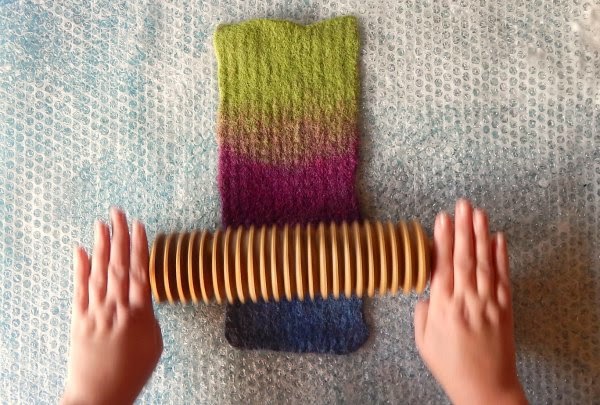
Felt using your usual methods.
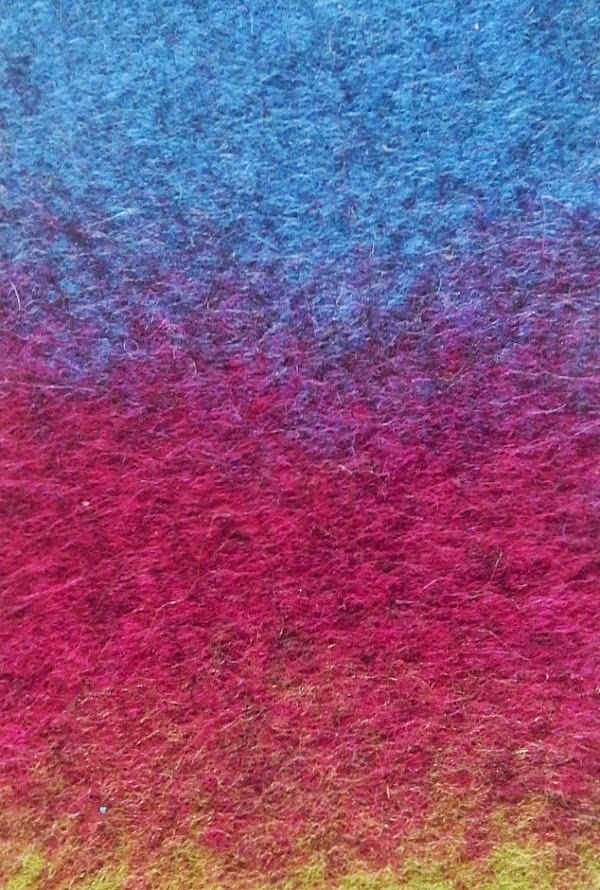
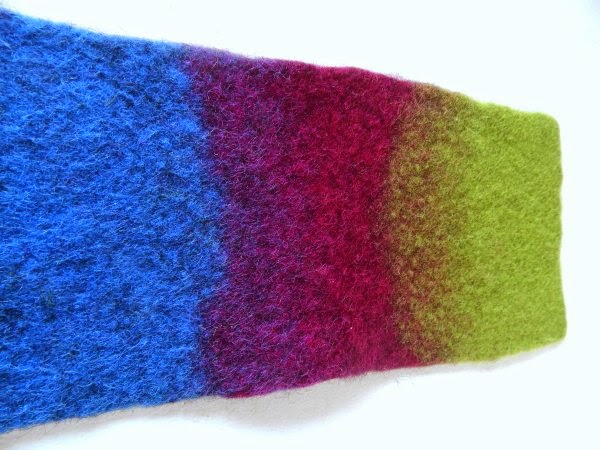
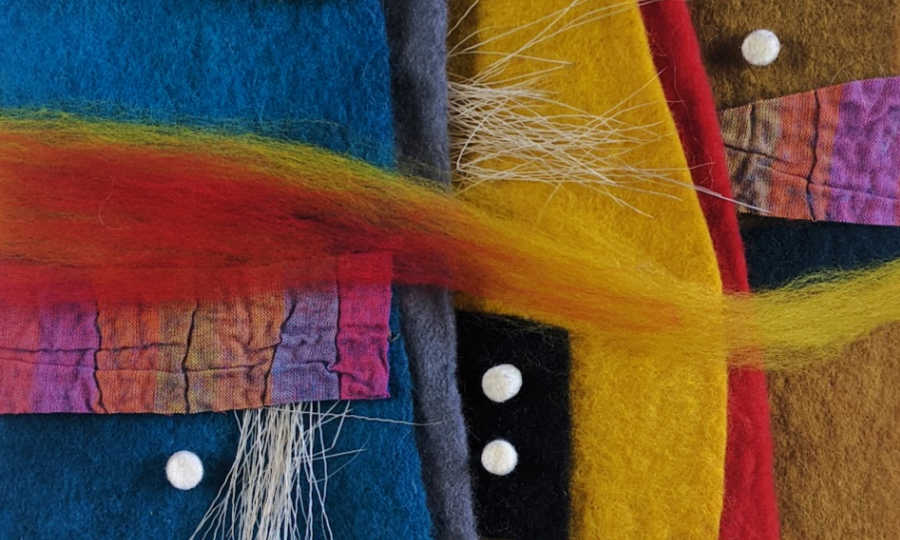
In your transition areas, the two colours overlapping migrate through one another, creating colour shadowing. This migration is what will create the seamless colour transitioning. Tossing your felt really helps to get those fibres integrated and achieve good migration. It is very important to full your felt completely. If you are not seeing any colour shadowing, you probably have more felting to do!
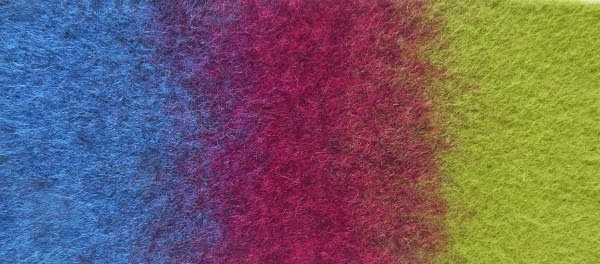
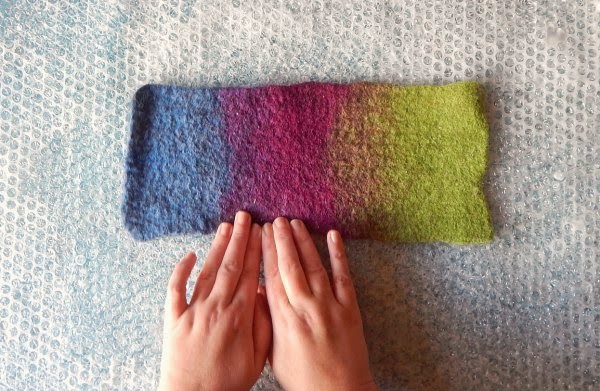
The transition areas show clear colour blending. A definite purple between the analogous blue and fuchsia, and a brown/orange tone coming from the lime green and fuchsia. This transition could be even more graduated by making a more deep overlap, and lightly adding wisps to the edges of the transition area in the closest colour. The colour transitioning is more subtle between analogous colours than complementary colours. This would also be true when using natural wool colours.
This is a beautiful and simple technique for adding more depth to your felt composition, with just a simple variation in wool layout.
A question about laying out using batting in this way was asked by a student in one of my online classes. I started writing out a text description of how to achieve the gradated result, and realized pictures just would tell it so much better! It was a fun exercise for me….a nice distraction from larger projects I have on the go, which I so need from time to time….and also a great opportunity to write a post here!
Warm wishes,
Fiona

Thank you Fiona, I will try to track downs some coloured batts, perhaps I will have to dye them myself
You are very generous to share your technique with all of us. Very clear…you're right the picture tells the story the best. Thank you.
Fiona, you're a master !!! Thanks for the sharing…
Great tutorial. Thank you
Very clear and good pictures tutorial. Thanks for the sharing.
Well I knew already you're a perfect teacher ….
you've proven it again ;-))
LOVE the colours !
Love, Els.