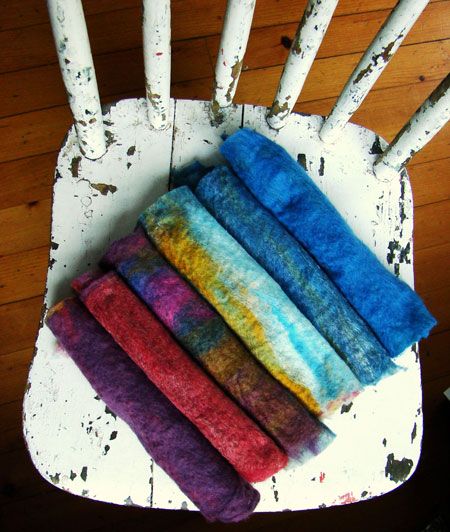
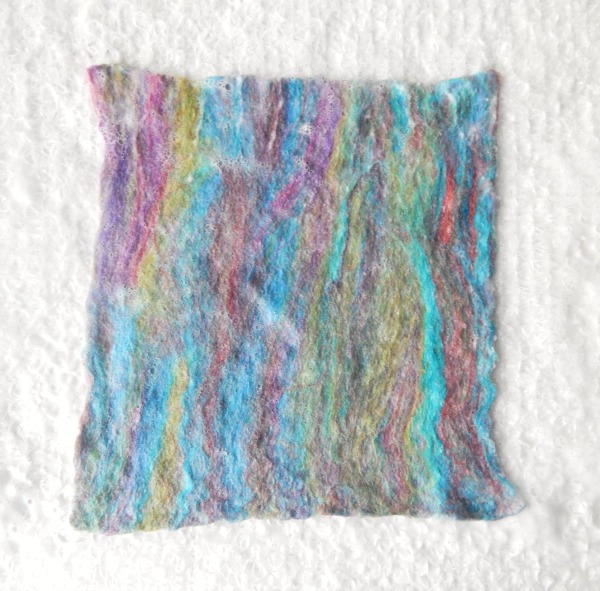
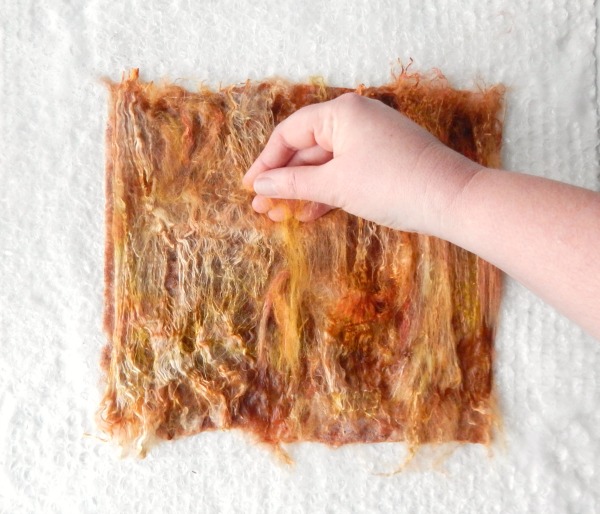
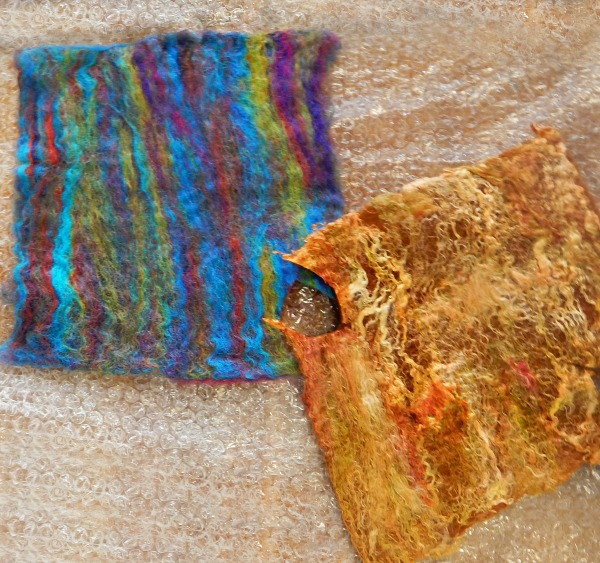
Making your own prefelts is so easy- and opens up so many opportunities for playing with colors, fibers and textures. Try using two or three different colors in layers; using wool for one layer and then another fiber like alpaca or angora for the next; or making nuno prefelt with a layer of wool and a layer of silk fabric. Handpainted rovings make beautiful prefelts, and make efficient use of the roving when layered onto solid wools. Two layers of wool will be fine for prefelts used for surface designs. For more substantial prefelt, use 3-4 layers. It is wonderful to have a collection of these made and ready to chose from, when the urge to felt arises!

Work on a sheet of bubble wrap.
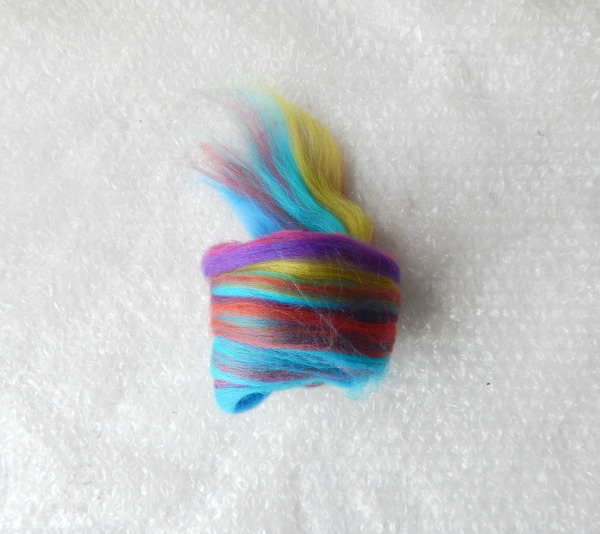
Lay out a thin layer of wool roving. Use your thumbs to pull open the wool shingles. Overlap each row a little to ensure an even layer.
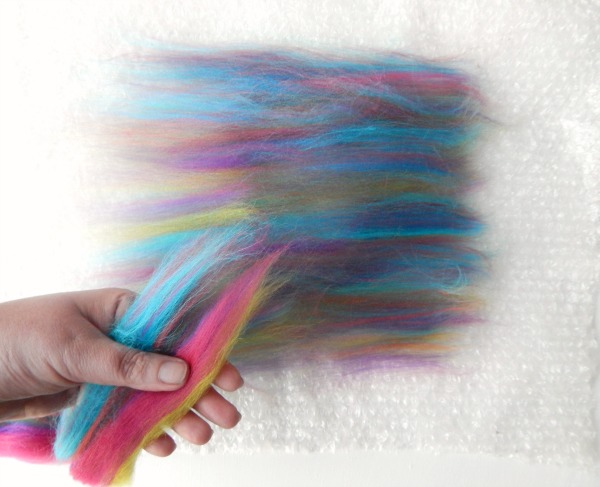
Lay out a second layer of wool roving, with the fibers perpendicular to the last layer. Here you can use a different color or fiber, or even a piece of lightweight silk or coton fabric for nuno prefelts.
You can make several at a time, by laying out more of these squares on your felting surface.,and then using your felting time to create multiple pieces at once.
Wet out your wool. Here are two easy methods:
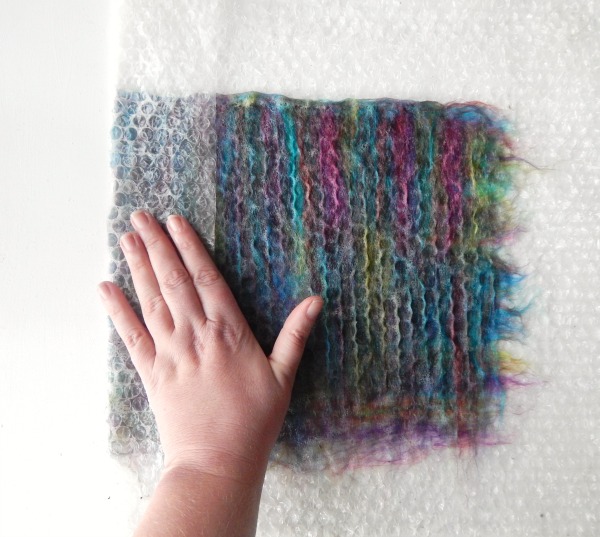
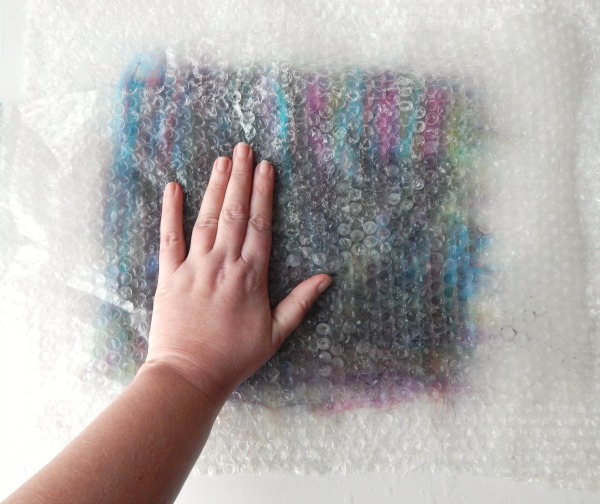
Sprinkle lightly with felting solution (1 tablespoon of natural dishsoap to 1 Litre/quart of hand hot water) and then cover with your bubble wrap and compress to flatten the wool fibres.
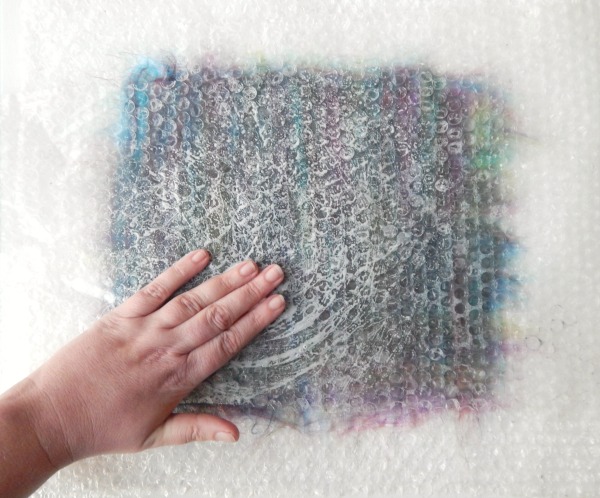
Add a little felting solution to the top of the bubble wrap and lightly work over the surface in a circular motion for 2-3 minutes.
or:
Cover your wool layout with a polyester sheer, and sponge on the felting solution. This gives even coverage of soap and water, without adding too much!
Press down with your sponge, and with your hands; at first pushing down and then using a gentle rubbing motion. Do this over the entire surface.
Remove the sheer. It will lift easily if the wool is wet enough.
After wetting out, you can use the bubble wrap base to even up the edges on on your prefelt. Fold over the bubble wrap, folding the more light, open edges of the fibres over onto the base. Gently surface rub along the fold for 1 minute. This gives you a straight line, and also a more uniform density over the entire felt piece.
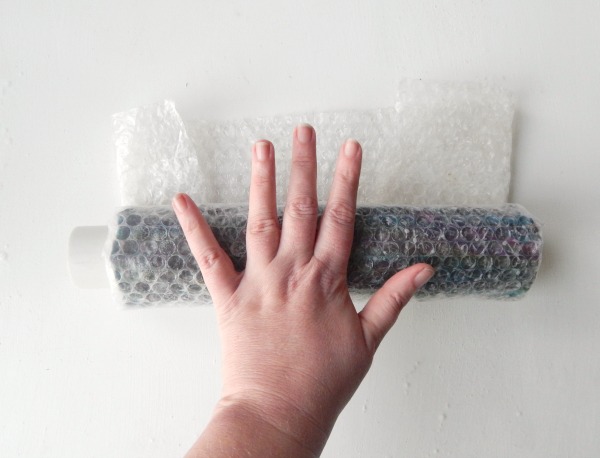
Tightly roll up in the bubblewrap. Roll for five minutes, or 100 rolls, gently at first and gradually applying more pressure. You want the fibers to have entangled, creating a thin, coherent textile. It will still be a bit fragile. It is important not to overfelt, since you need those fibers to mingle with your base fibers or fabrics when using in your finished piece.
\
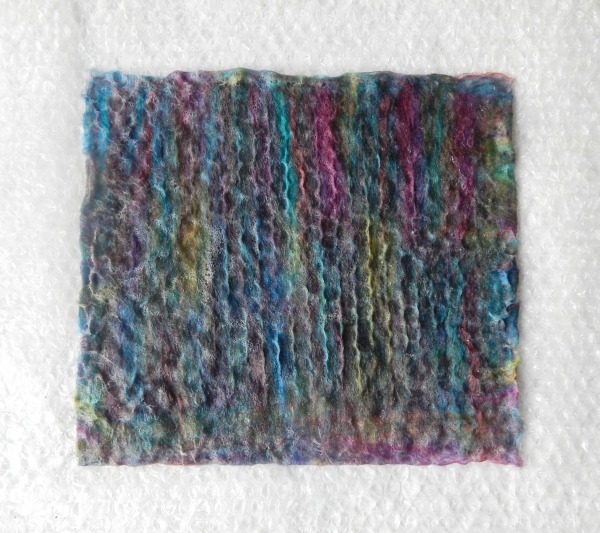
Rinse carefully under warm running water and lay flat to dry. Keep as a whole prefelt length or cut into desired sizes.
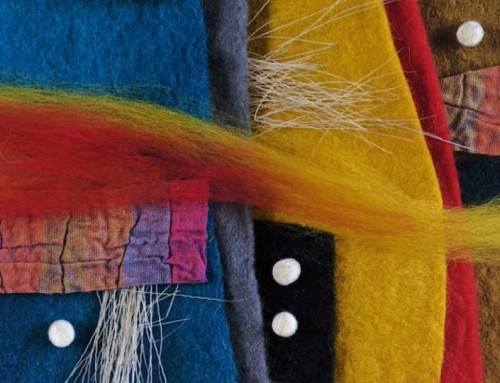
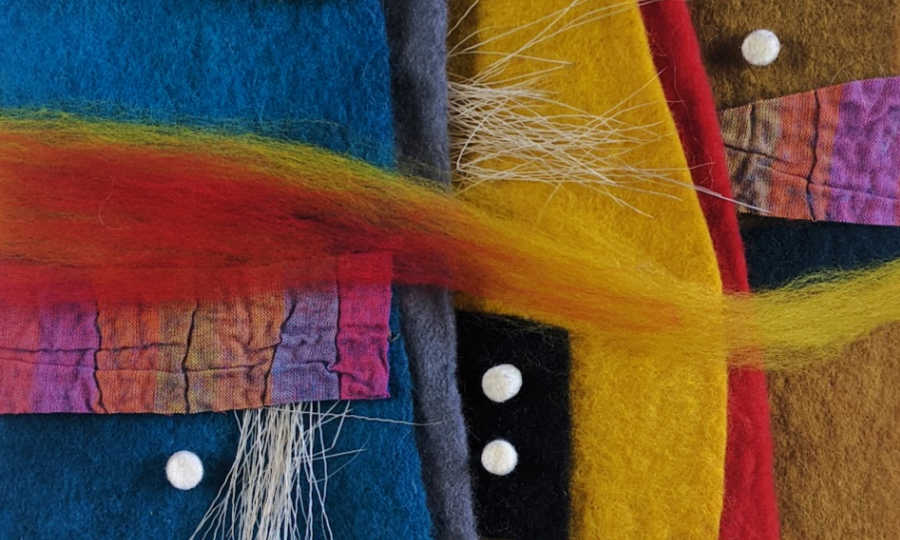
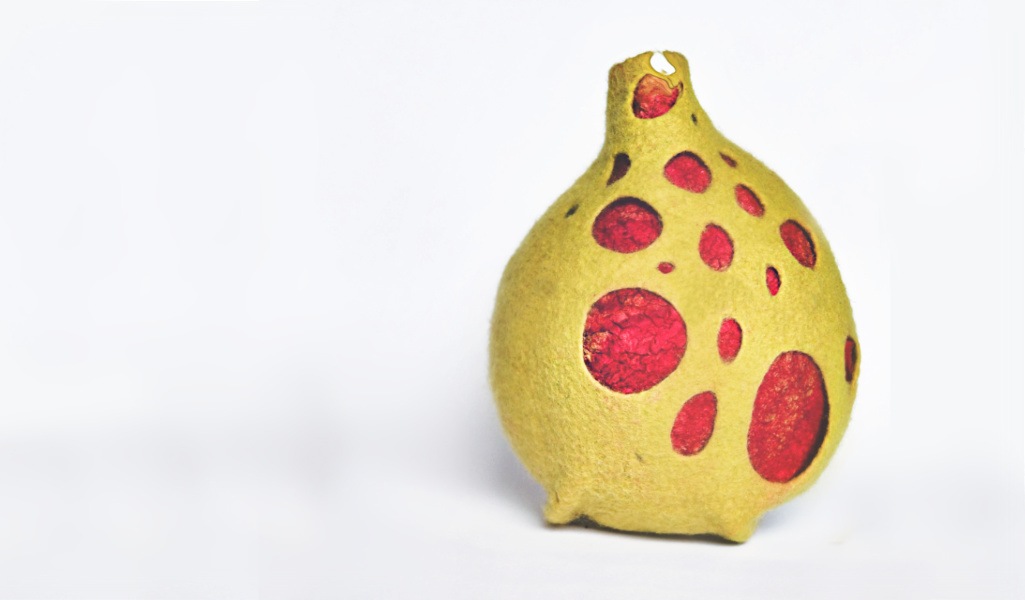
Try adding simple surface elements to your prefelt layout….over the first single wool layer, you can add many fibre and fabric additions….layers of silk fibre, lightweight silk or cotton fabrics, exotic fibres, or just a variety of wool colours which will look interesting when cut into varying shapes.
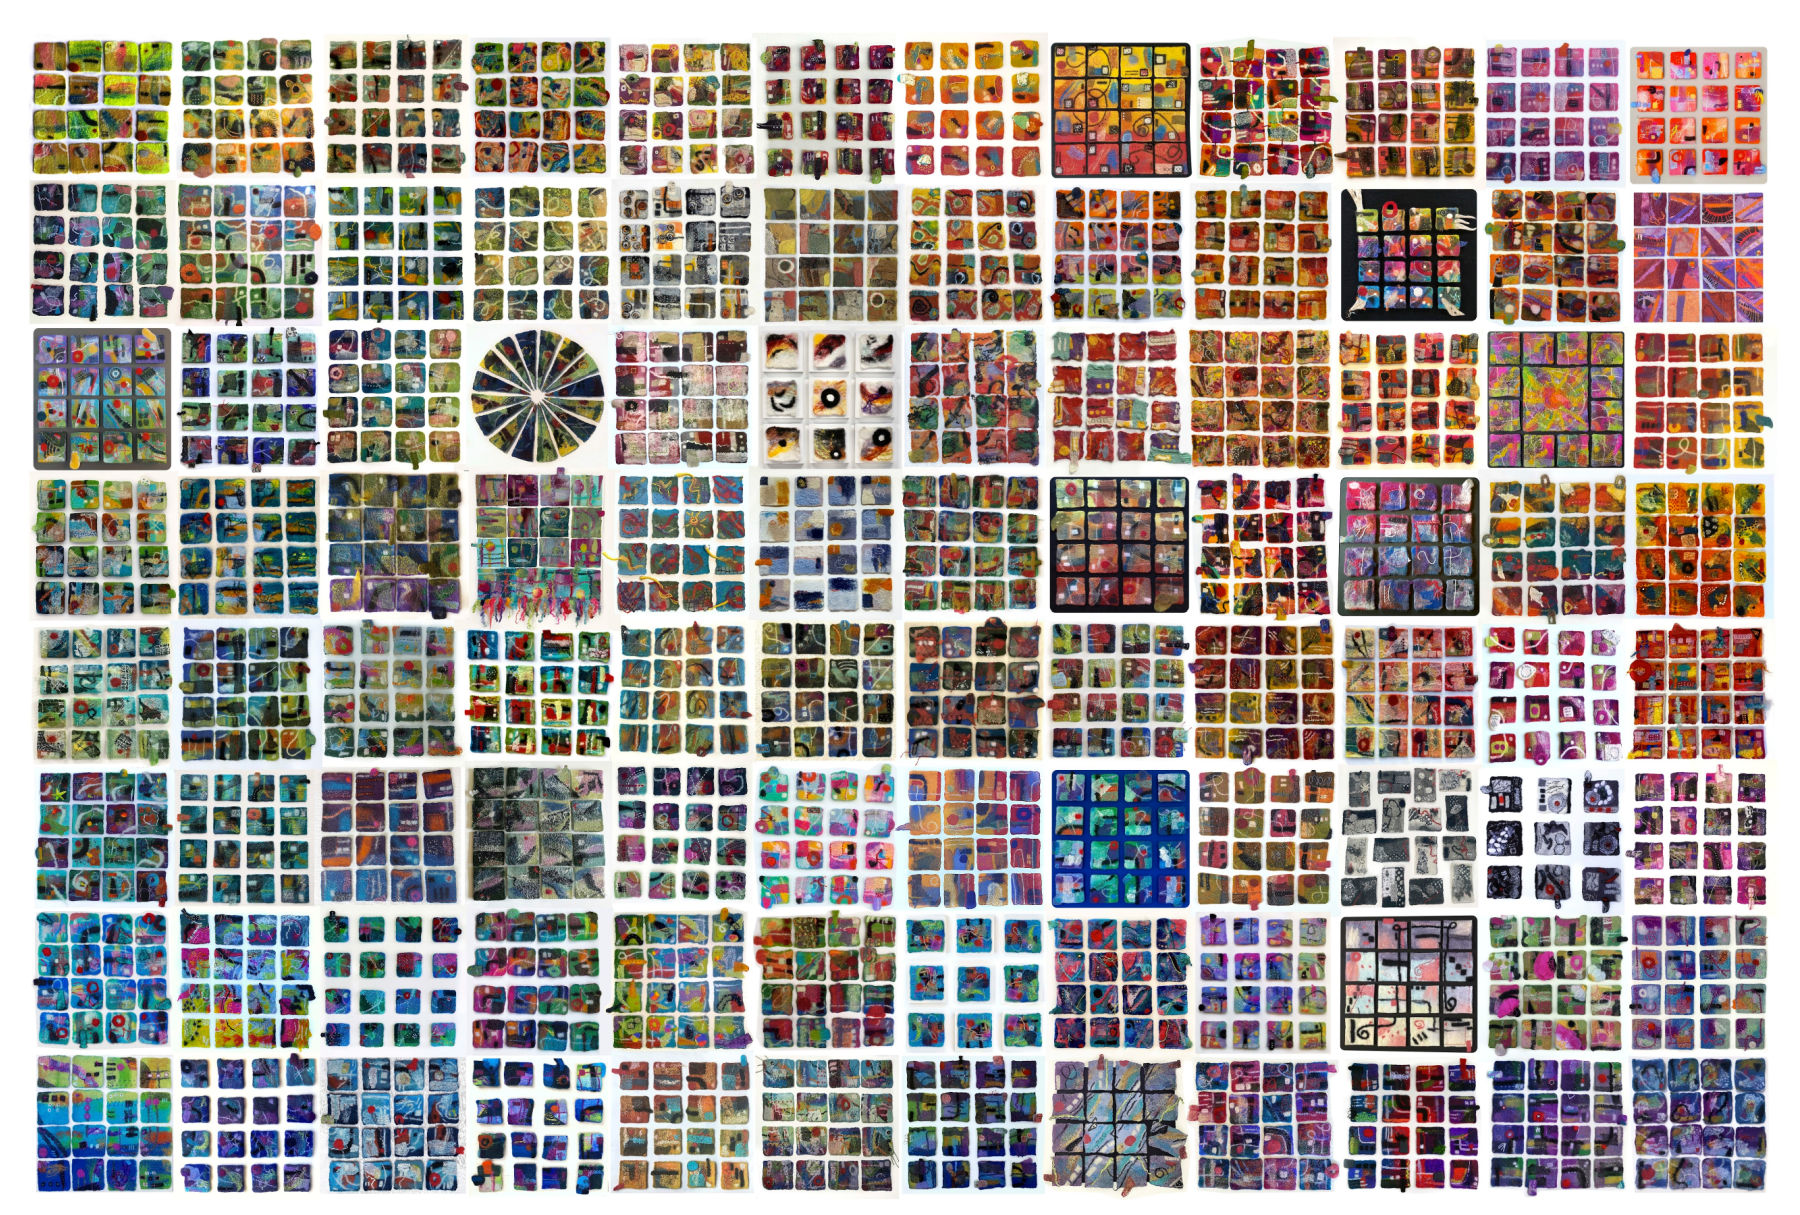
These unique and handmade prefelt pieces are wonderful to have on hand in your fibre stash….great surfaces that you can go to, to add individual shapes and textures…
I’ll sometimes layout a small square for prefelting, alongside a larger project, so I get double the value from my felting time.
The degree of prefelting will have a big imapct on the finished surface. A more light prefelt will blend in to your base wool more than one that has even just 2-3 minutes more prefelting. You may want to make your sample to the a lightly prefelted stage, and then whe you have a particukar project in mind, prefelt a little more, if you want the pieces to be more distinct, and stand out from the surface.
You can use these techniques to make any size of prefelt. Just vary the size of your layout, and felting times.
Fiona D2017-08-02T16:58:09+00:00
Share This Story, Choose Your Platform!


Hi, I am new here. Wonderful article! Thanks a lot.
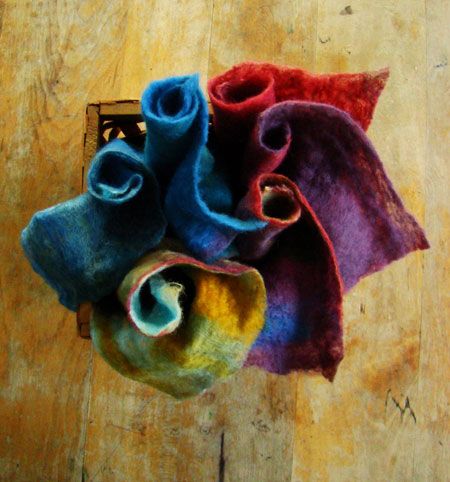
i am usually very conservative with embellishments and colours. Some how the penny dropped reading your prefelt instructions resulting in 4 colourful prefelts.
Hi Fiona great article about pre felting.
I was just wondering can you make pre felts by needle felting ot using an embellisher machine? I think you may lost some of the subtle merging colours you get from wet felting.