
")
note: you only need a few prefelts for study 2 and 3. The information on the prefelts is all here so you have lots of time to make them. You can also use purchased prefelts- you don’t have to make them! The option is yours!
This size of prefelt will give you lots extra to work with in future projects, once you’ve seen how all of the colour blending and contrasts come together in the studies. If materials or time are tight for you, make each prefelt 1/4 this size- using 4 grams (0.14 ounces) of wool, laying out a square that measures 18cm x 18cm (7” x 7”) and shrinking it down to 15cm x 15cm (6” x 6”). This will give you enough for your studies.
Materials:
15 grams/0.5 ounces in one colour, for each prefelt. You will be making one prefelt from each of these colours: the 6 colours you have selected to work with- the colours you have the most of in your stash, or your favourites, plus 2-3 colours you select to be contrasts to those 6 selected colours, and white, and black. 10-11 prefelts total.
tip: if you don’t have a scale to weigh out your wool, a 60cm ( 24”) length of roving will give you very roughly this amount. The weight for each prefelt is not critical, but I want these to be of a medium weight so they will be most useful to you in future projects.
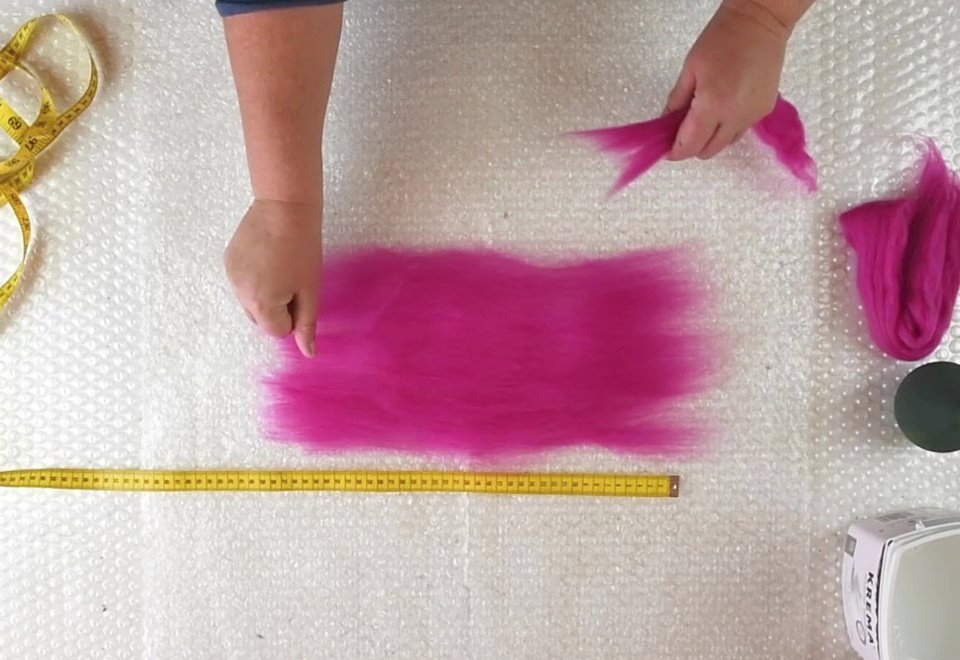
Work on a piece of bubblewrap. Divide the wool into two lengths. Use one length for the first layer of layout and the other length for the second layer of layout.
Lay out one layer of wool that is 36cm x 36cm (14” x 14”).
Repeat with the second layer of wool laid our perpendicular to the first layer.
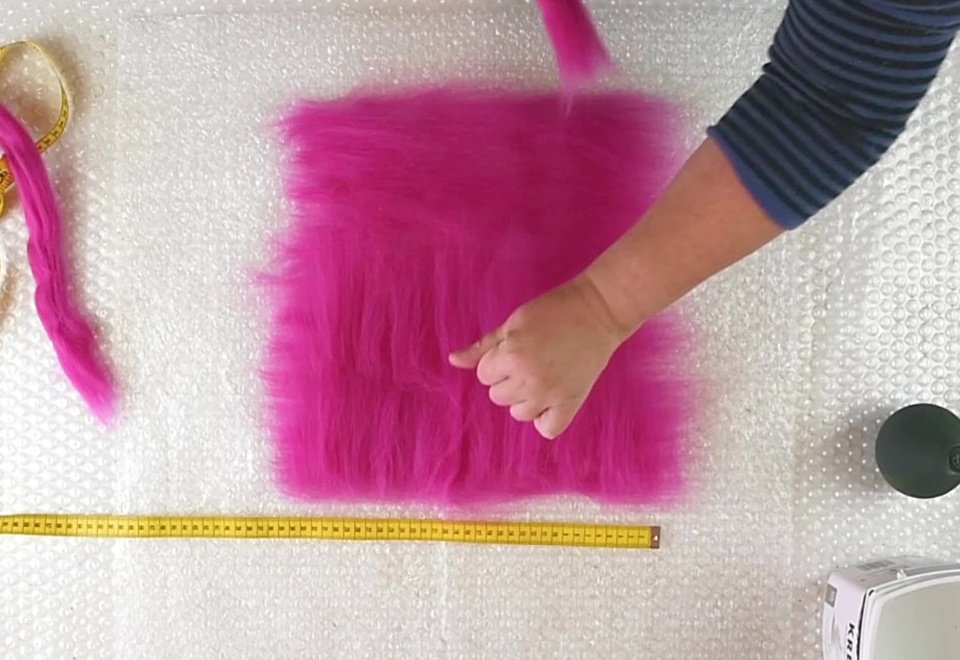
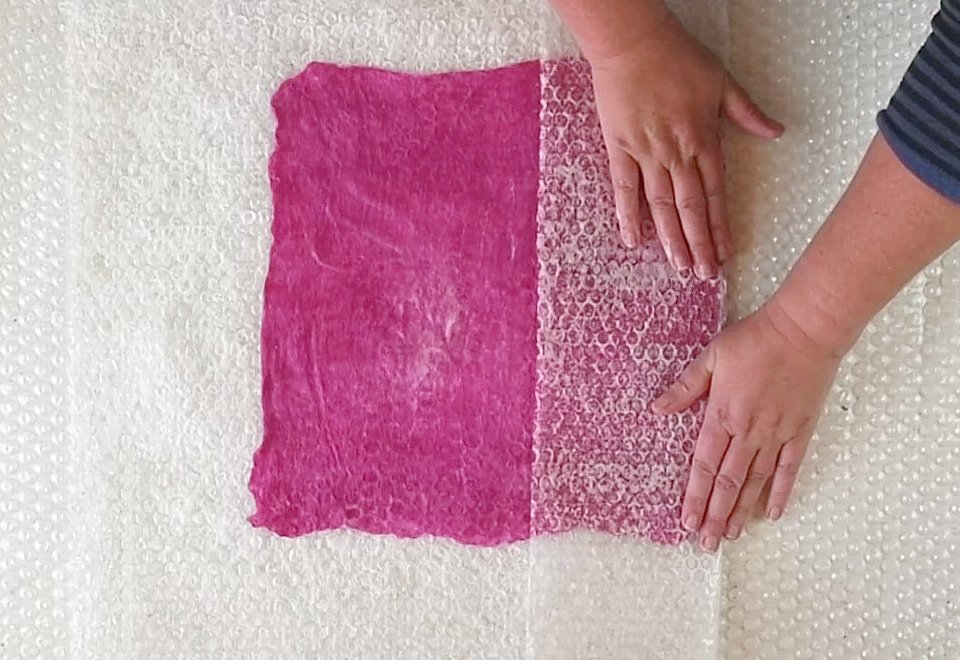
Wet out the wool, cover with bubblewrap and compress.
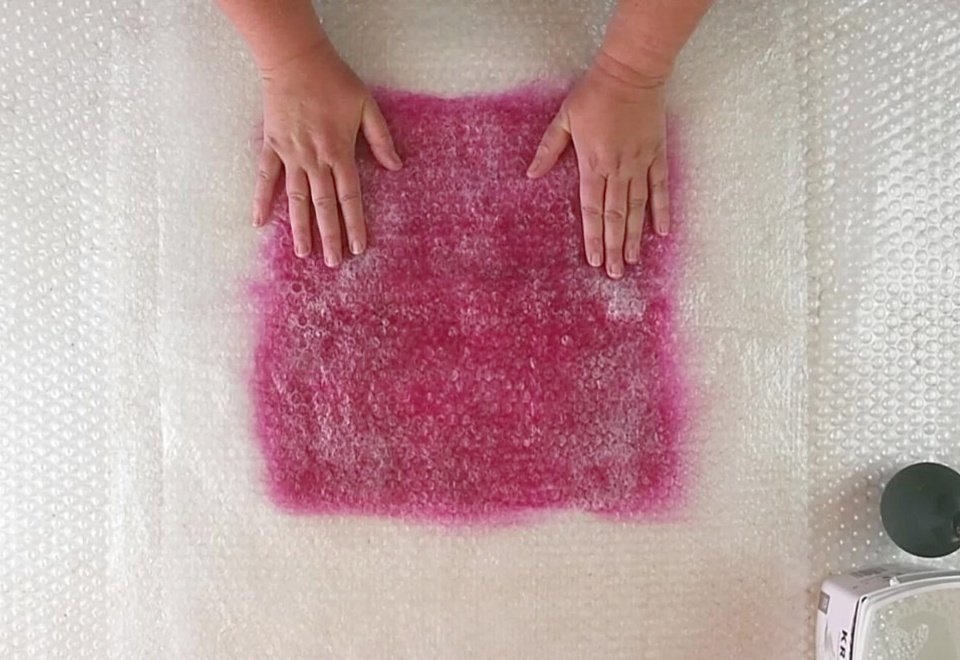
Roll over the surface with a length of pipe, wooden dowel or pool noodle. You can add some felting solution over the surface and gently surface rub, massaging with your hands flat for one to two minutes. You could also do this with a felting tool or a sander. This is a simple prefelt, so this step is not essential- you can also move on to the rolling, since we are working with only one colour of wool.
Roll up the felt in the bubblewrap. You can use a pool noodle or length of pipe or dowel on the inside of the roll, but you can also just roll with the bubblewrap only. You can place the roll in a towel to help hold the roll together and make it easier to roll, without your hands getting soapy.
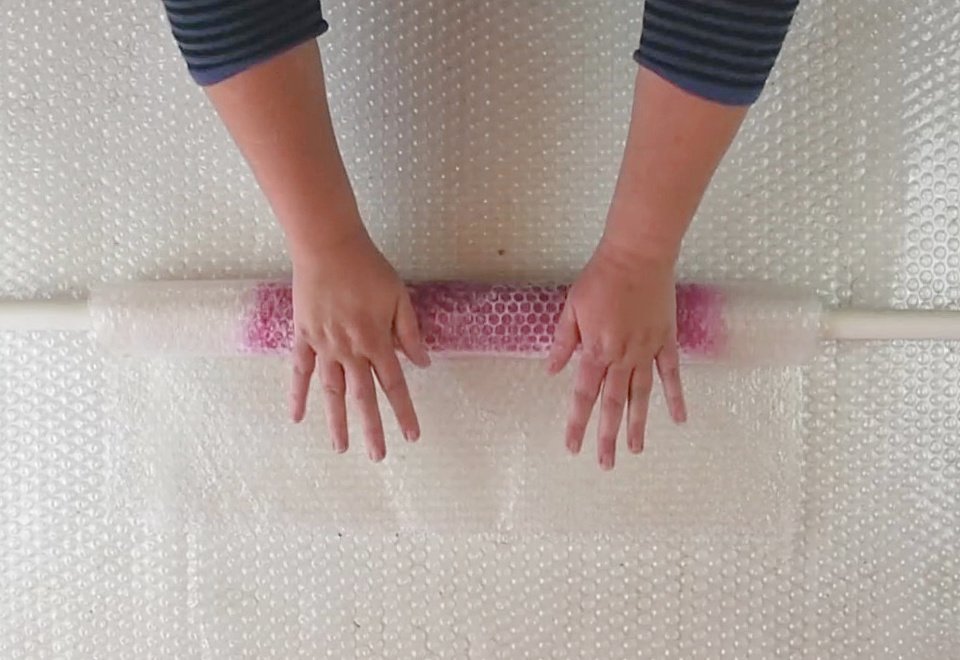
Roll for one minute from each of the four sides, applying very light pressure. The wool felts faster on the inside of the roll and in the direction in which you work it, which is why we roll it from each of the four sides. After this rolling, the prefelt will have a good felted skin, be holding together well, feel like a cohesive textile, and be only just starting to shrink.
This light rolling will tidy up the edges of the prefelt, but if you have any very open fibres on an edge, fold the bubblewrap over so that these light fibres are folded back onto the prefelt surface, creating a straight edge. With the bubblewrap folded over, gently rub up and down on the fold.
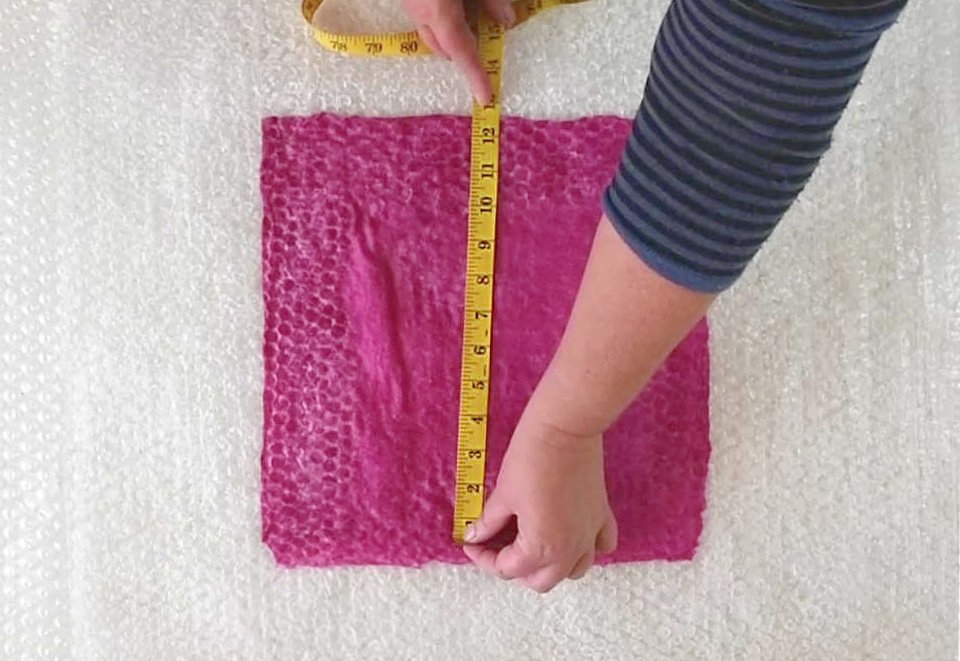
The prefelt needs to be shrunk down to 30cm x 30cm (12” x 12”). Roll again from each of the four sides for about 30 seconds each, and repeat until you reach these dimensions. Check in regularly, as this is the finished size you will need.
Roll up the prefelt on itself and squeeze out the felting solution. Rinse gently, rolled up, under warm water. Lay flat to dry.
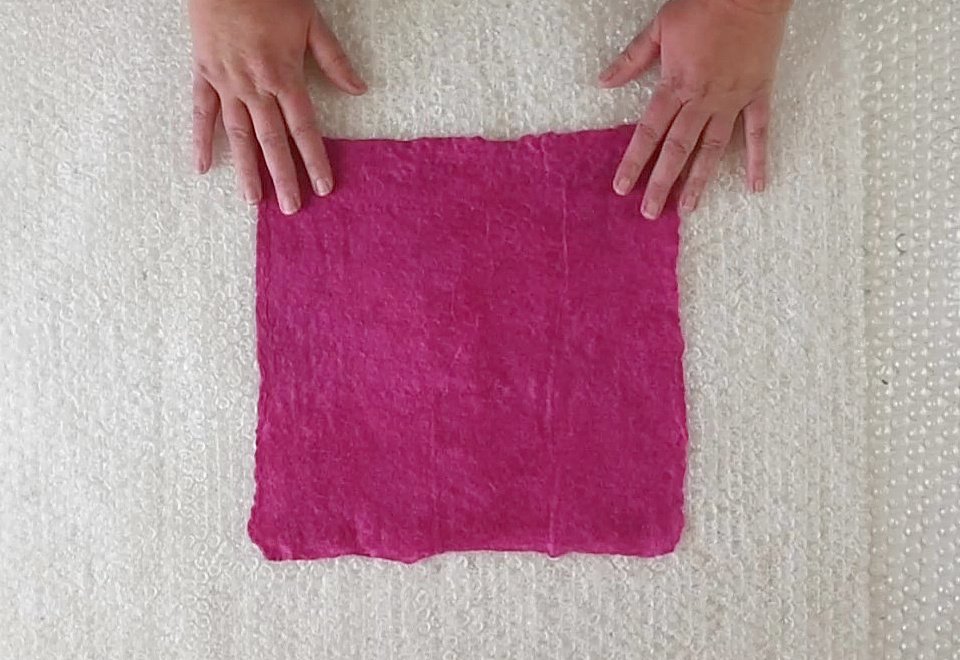
Repeat with the other colours until you have one prefelt in each colour.
tip: You can make the prefelts one at a time, or you can layout several, and use the felting time more efficiently to complete several prefelts at once.