
Teaching a most marvelous experience! It invites to teacher to share their skills and provides wonderful opportunities to refine our techniques both before the classes in preparation, but also during….
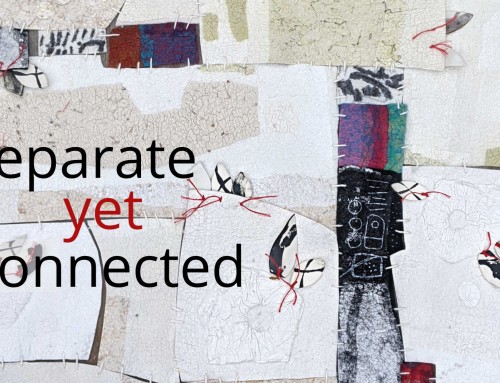
The spring class of Surface Design Online is in session, and it is just so much fun…It is amazing to see so much beautiful work, and to see connections building between feltmakers from all over the world. One of the techniques in this class is using Inkjet Transfer Paper for adding text and images to your feltmaking. I started playing with this a few years ago with my Storytelling Bags series. I’ve always wanted to explore this in a different way and the opportunity presented itself this afternoon.
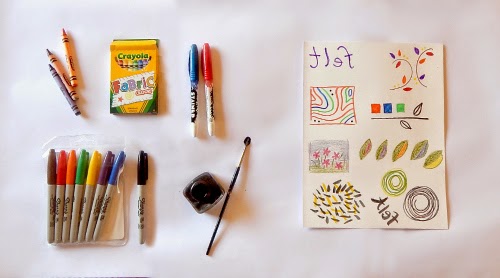
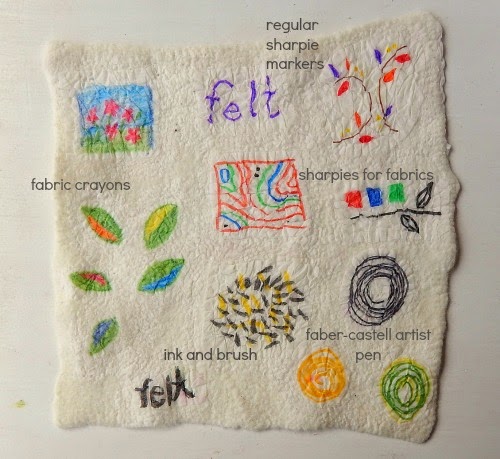
I’ve been wanting to see how different drawing tools could be used directly on the transfer paper…and what results the different mediums would give… So we tried some crayons for fabric, sharpie markers for fabrics, regular sharpie markers (permanent), and ink and paintbrush. We tried pencil crayons and pens as well, but their points were too sharp and tore up the transfer paper. (“We”: I even got my two teenagers excited about this and playing with textiles with me! Excited may be too strong a word, but I’m sticking with it!)
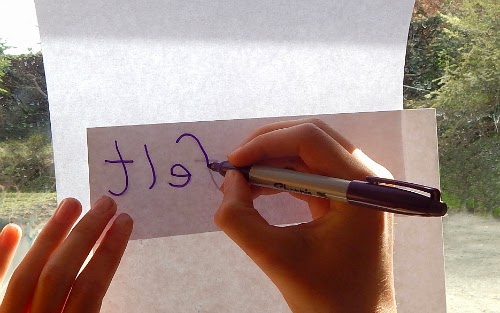
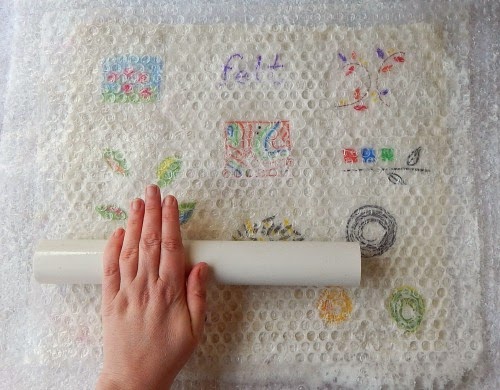
With this method, text can be easily mirrored. Write your desired words on a sheet of ordinary copy paper, hold it up backwards in a window. Place the transfer paper up to the lettering, making sure you are drawing on the correct side of your transfer paper for transferring, and copy using your desired drawing medium.
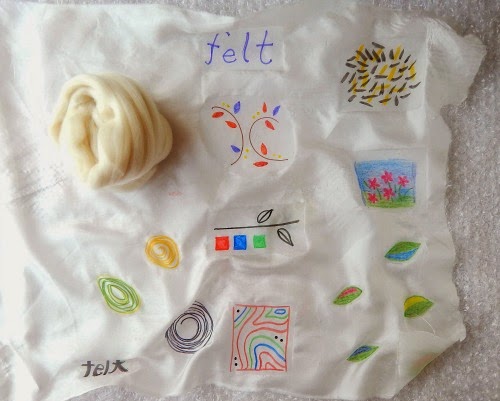
Cut out your drawing and iron them onto your silk fabrics as per the paper instructions. In this case we ironed each section for 2 minutes or so, on the highest setting, with no steam. Remove the paper from the silk fabrics, and cut out around the image, allowing at least an inch of non-printed silk for the wool fibres to migrate through during felting.
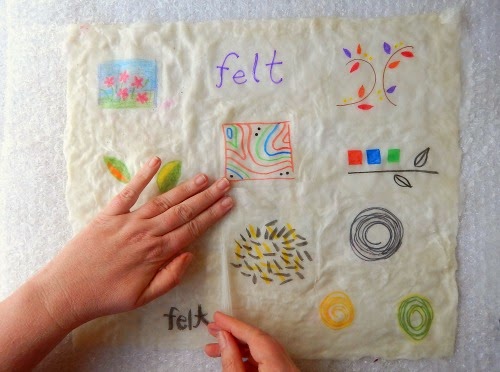
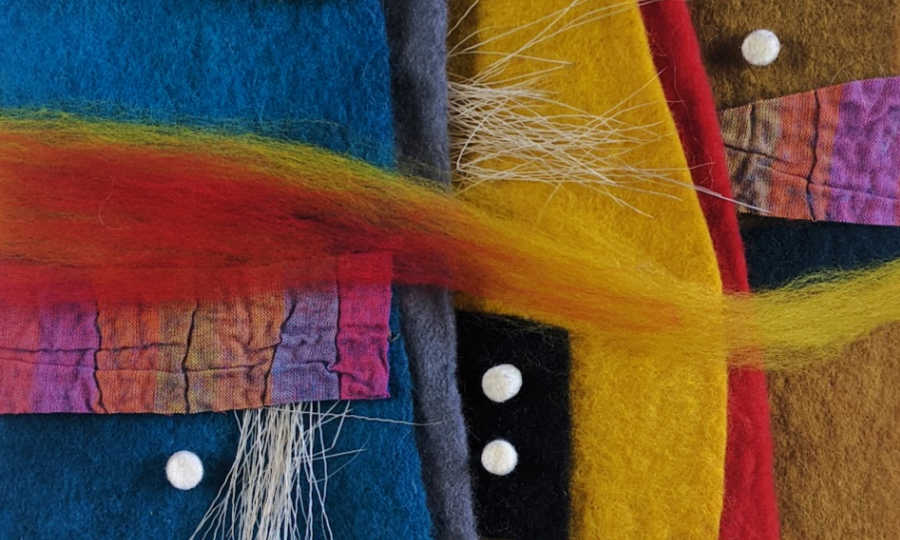
Felt as usual…
and….taadaa…..hand drawn images and text on your nuno felting! How incredible is that! This has a different effect than just using fabric markers on your silk directly, as you can use many drawing mediums, plus you get interesting surface reliefs from the transfer paper.
In our experiments, anything with a brush tip worked equally well. The regular sharpies were a little too pointed and tended to gum up with the polymers from the paper, but did give very refined lines and brightly coloured images. The crayons are one of my favourites… I like their folk art qualities..the slight transparency in the drawing strokes combined with good strong colours.
This is what it is all about….exploration, experimentation and sharing….We are always students…even when we are teachers!
We explore this technique in much more depth in class, but I thought you all might enjoy seeing this, as it’s so simple and beautiful!
In this sampling we used Lesley Riley’s TAP as our transfer medium.
Happy felting,
Fiona

You are such a joy to learn from!! Love this
Conni Diack
Thanks Fiona, I am just coming back to re visit this bit of fun, love all these ideas. Jane
what a cool idea!! Thanks a lot for this inspiration…(and all the others on your blog!) greetings from the Canary islands, Anu
Just what I needed ….more choices !!! More supplies, new ideas and endless fun, am resisting ordering the paper, but I am sure that won,t last long, on her site she says she no longer ships internationally, which explains my resisting! Lol
Hi Ginny! I'm so glad this is helpful! I've been wondering where you are! I hope to see you in the online classroom, or hopefully at Opulent Fibers on the 26th?!
Hi Fiona, I'm here..and following along, enjoying your posts and picking out the techniques I am most interested in right now…I'm not likely to show up in the classroom much as I not a very comfortable group person even on line! Also, am having a bit of computer trouble which as of today has seemingly left me unable to access all the postings. Somehow, once I'm logged in I can't then go to the other sections.. Hopefully that's not going to last…..April 26th..sounds like a lovely idea.. Do you happen to know of anyone I could ride with who is planning to come through Seattle and return the same day?
Hi Fiona-also over here from SDO Spring.. Just discovered my computer won't do mirror printing so looked for this about using other things; I have an idea which will combine a quotation I have been playing with a lot and several of your new week 2 techniques..thanks for this alternative to using the printer..and for all your other fine suggestions..
This would be a great technique to work with as a family to create a felted gift for someone…. making little pictures on the paper and at their own level, with a wish or memory to share with the recipient!
This looks like a fun way to lure my not-yet-teen kids in to some felting projects!!! Lots of fun possibilities with this – thanks for this!
Yes, Jenny-my two boys are 14 and they enjoyed it! We've done things like this before when they were very young, but it's a good reminder to pull out some of these things again, and see where they go with it now, with their more refined skills… one son made a gorgeous leaping salmon picture, and the other a highly detailed kingfisher…. it was fun!
What a marvellous idea!!! Will have to play with that!
Wonder if water colors would work or if that would wash the polymer layer off the paper … have to try!
Elisabeth, yes, I think they would work, as long as apples with not too much water so they would dry quickly. The colours might be muted…..a light was of acrylic or watered down fabric paint would be good also.
I pulled out our paints yesterday, but then realized there was only so much time left in the afternoon to finish up the samples…. so next time!
Thank you very much, this is an exiting technique!
What colorful fun! XX
Ooo…it is….. it felt so bright and fresh on a gorgeous spring day here!